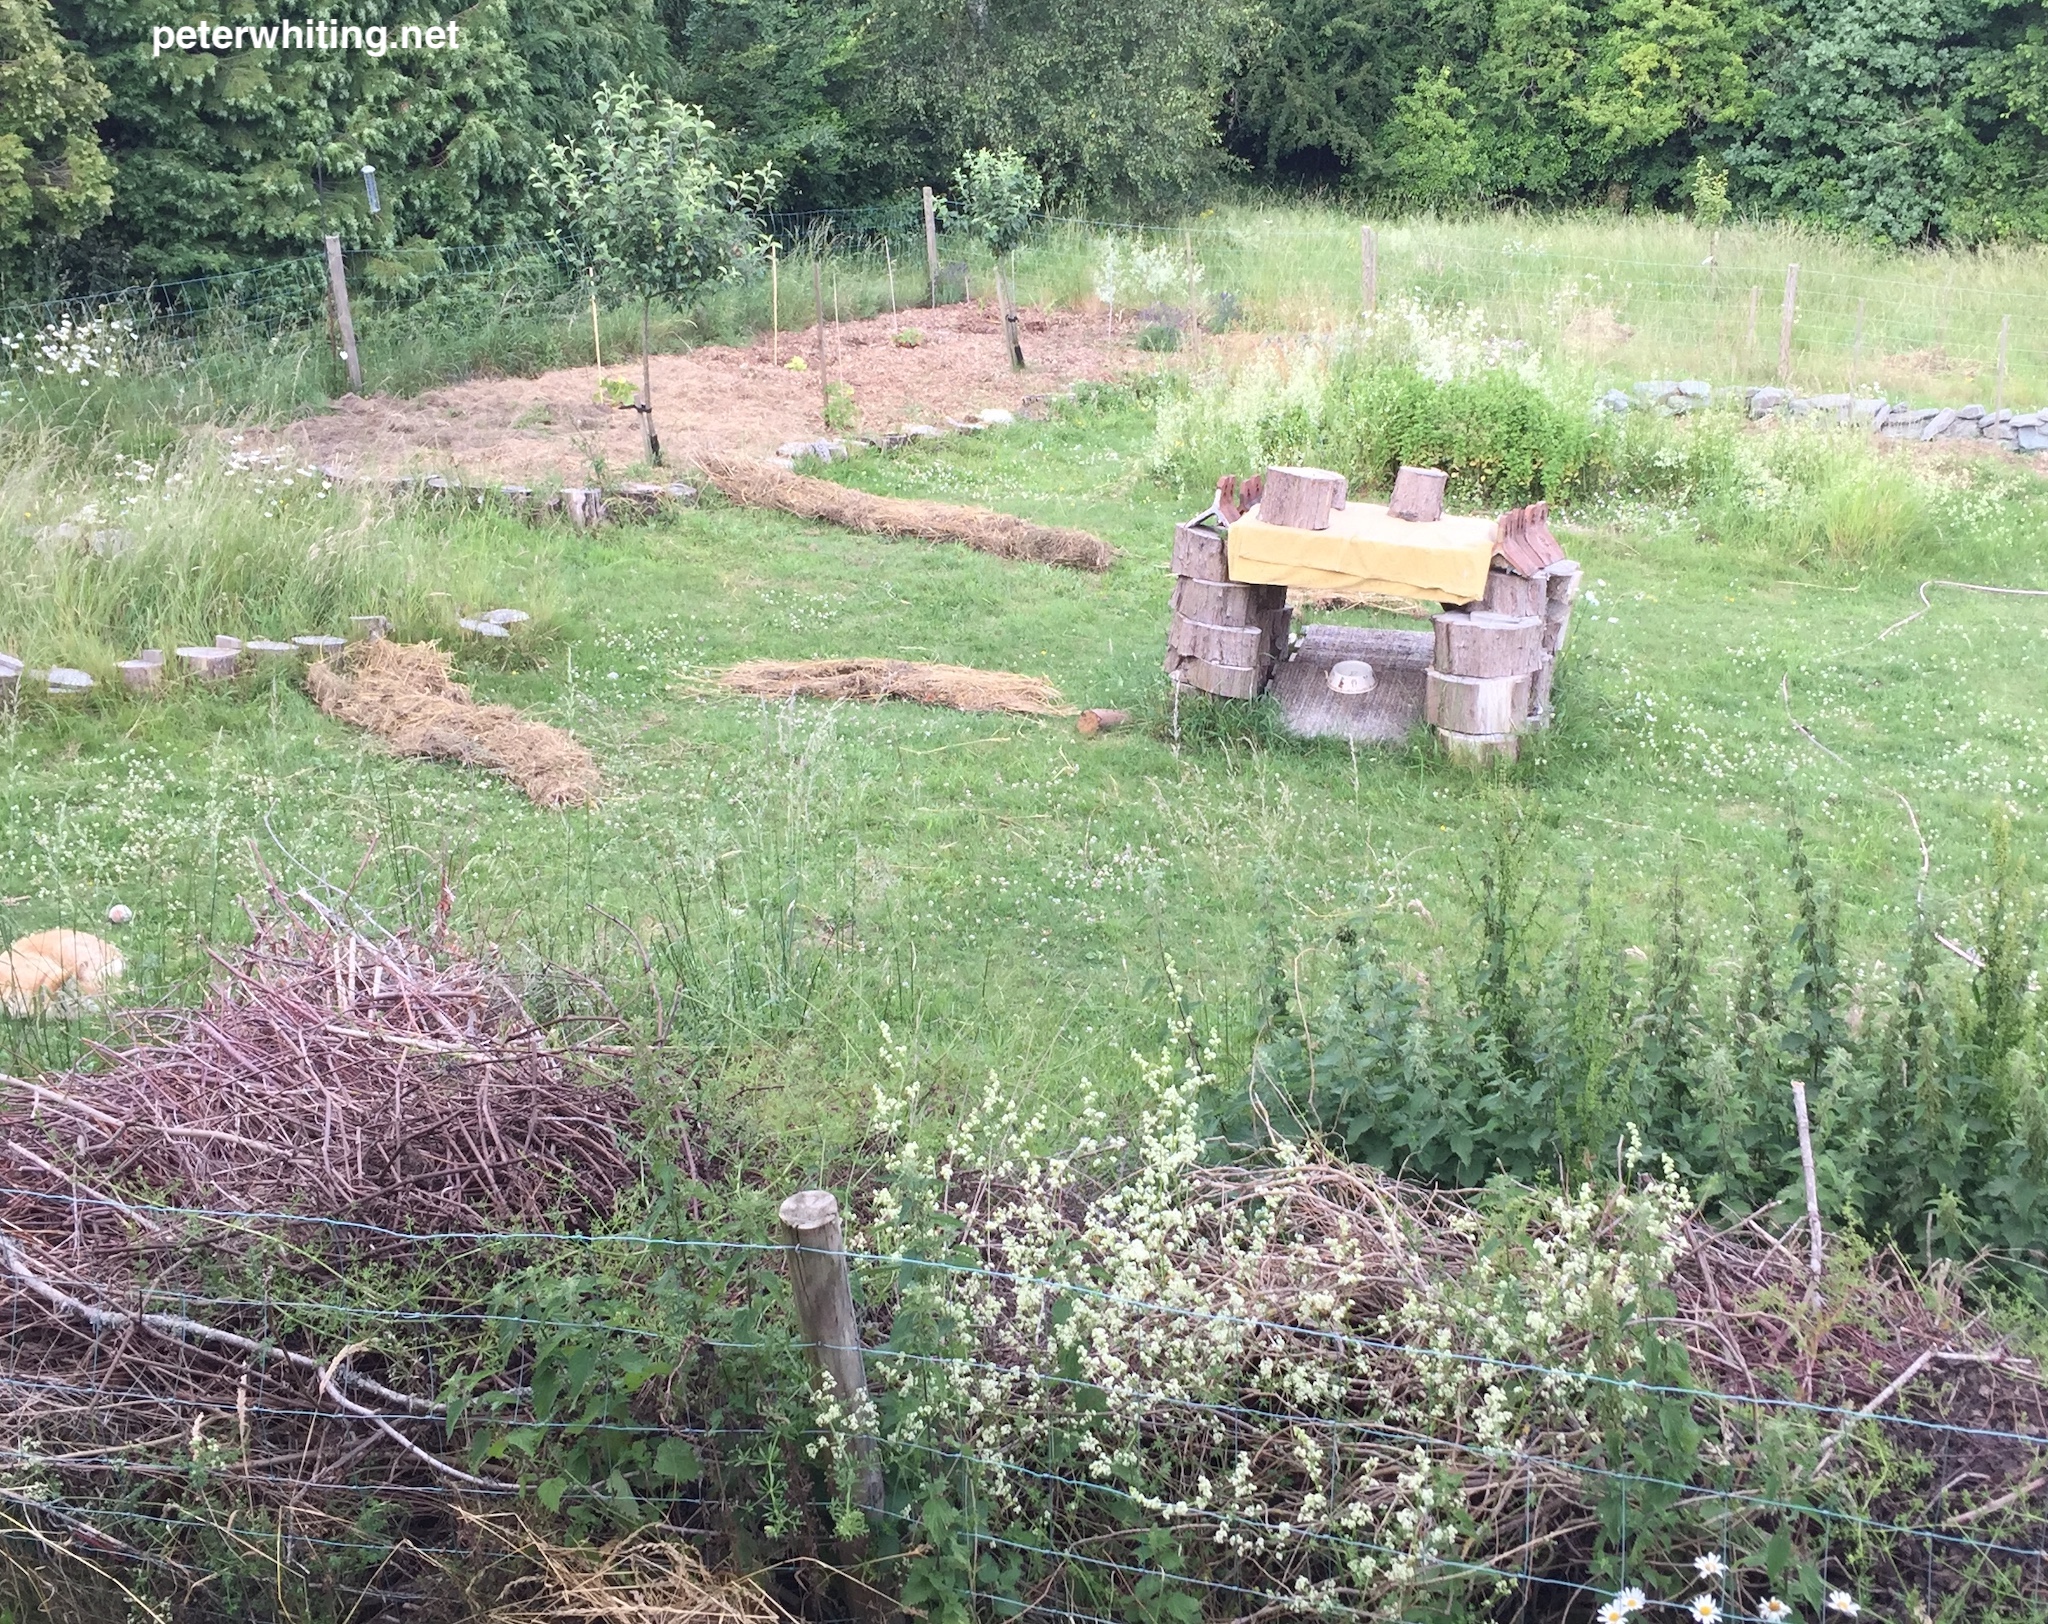
As you might already know, I do a bit of scything around my garden, and you may be wondering what happens to all the grass. Ok, that thought probably never entered your head, but I’d like to think it did. In my garden, I like to try to keep everything circular – everything that’s produced by the garden goes back into the garden – and I use all the grass that I cut to enrich the soil. This requires windrows.
What is a windrow?
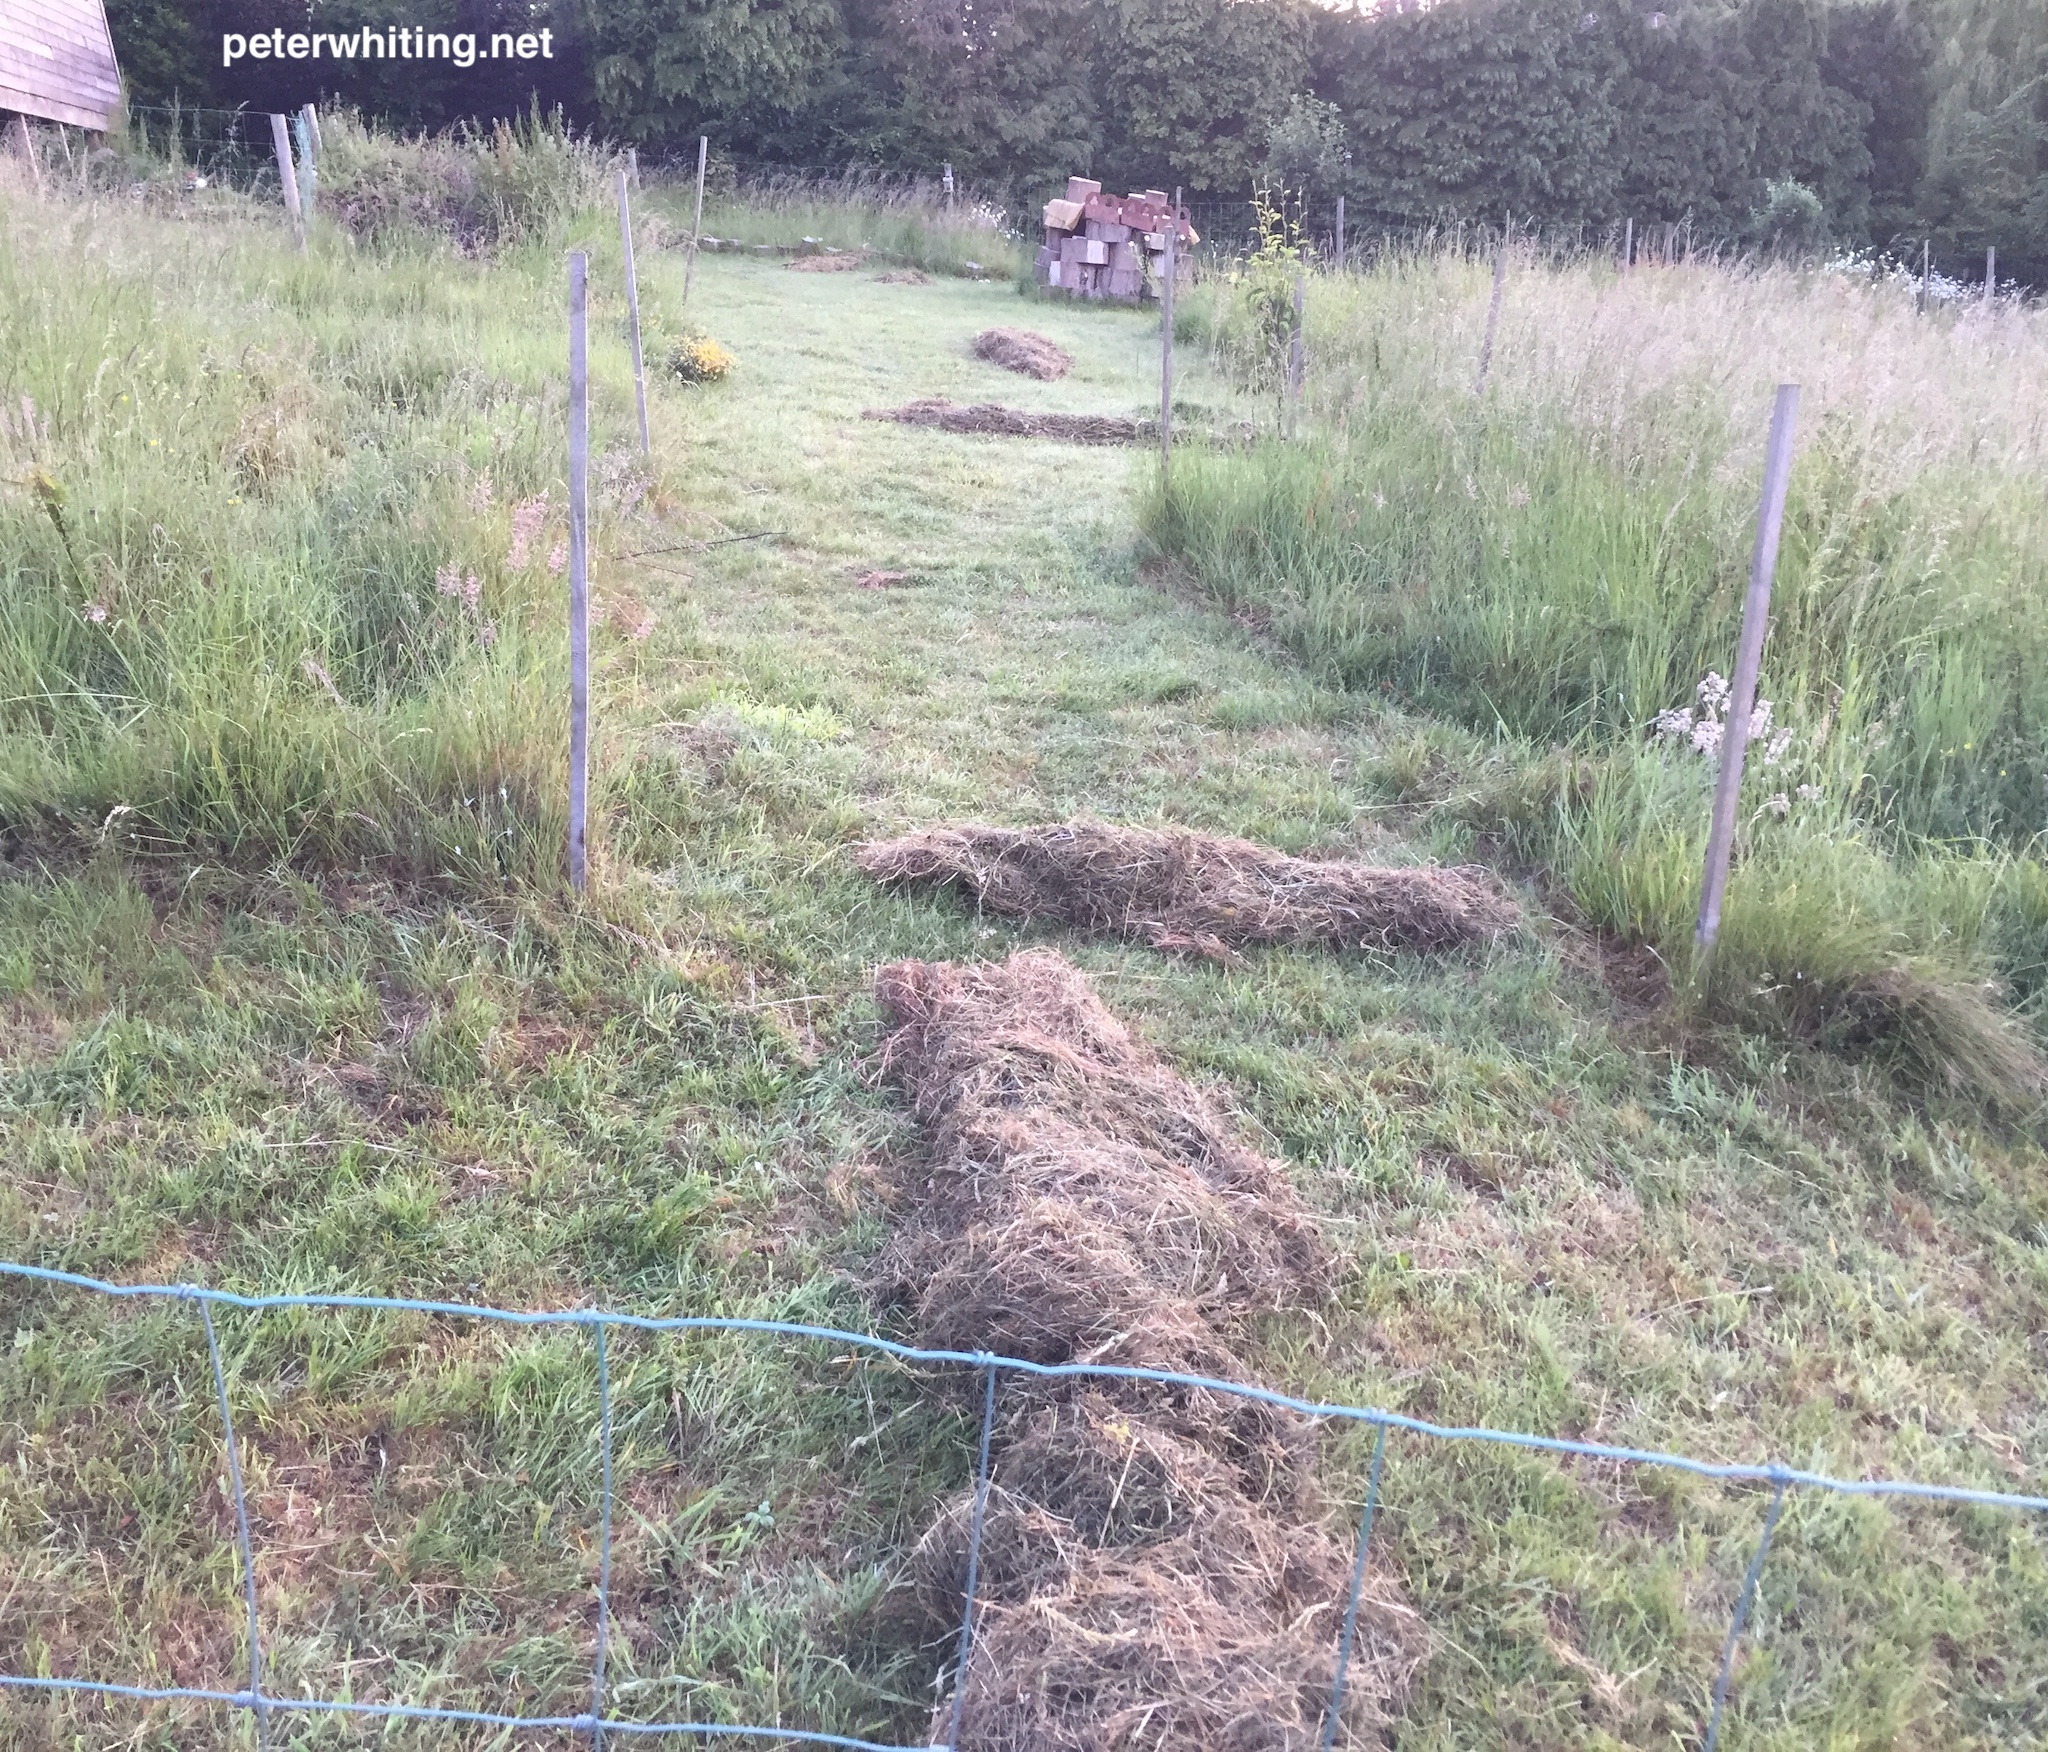
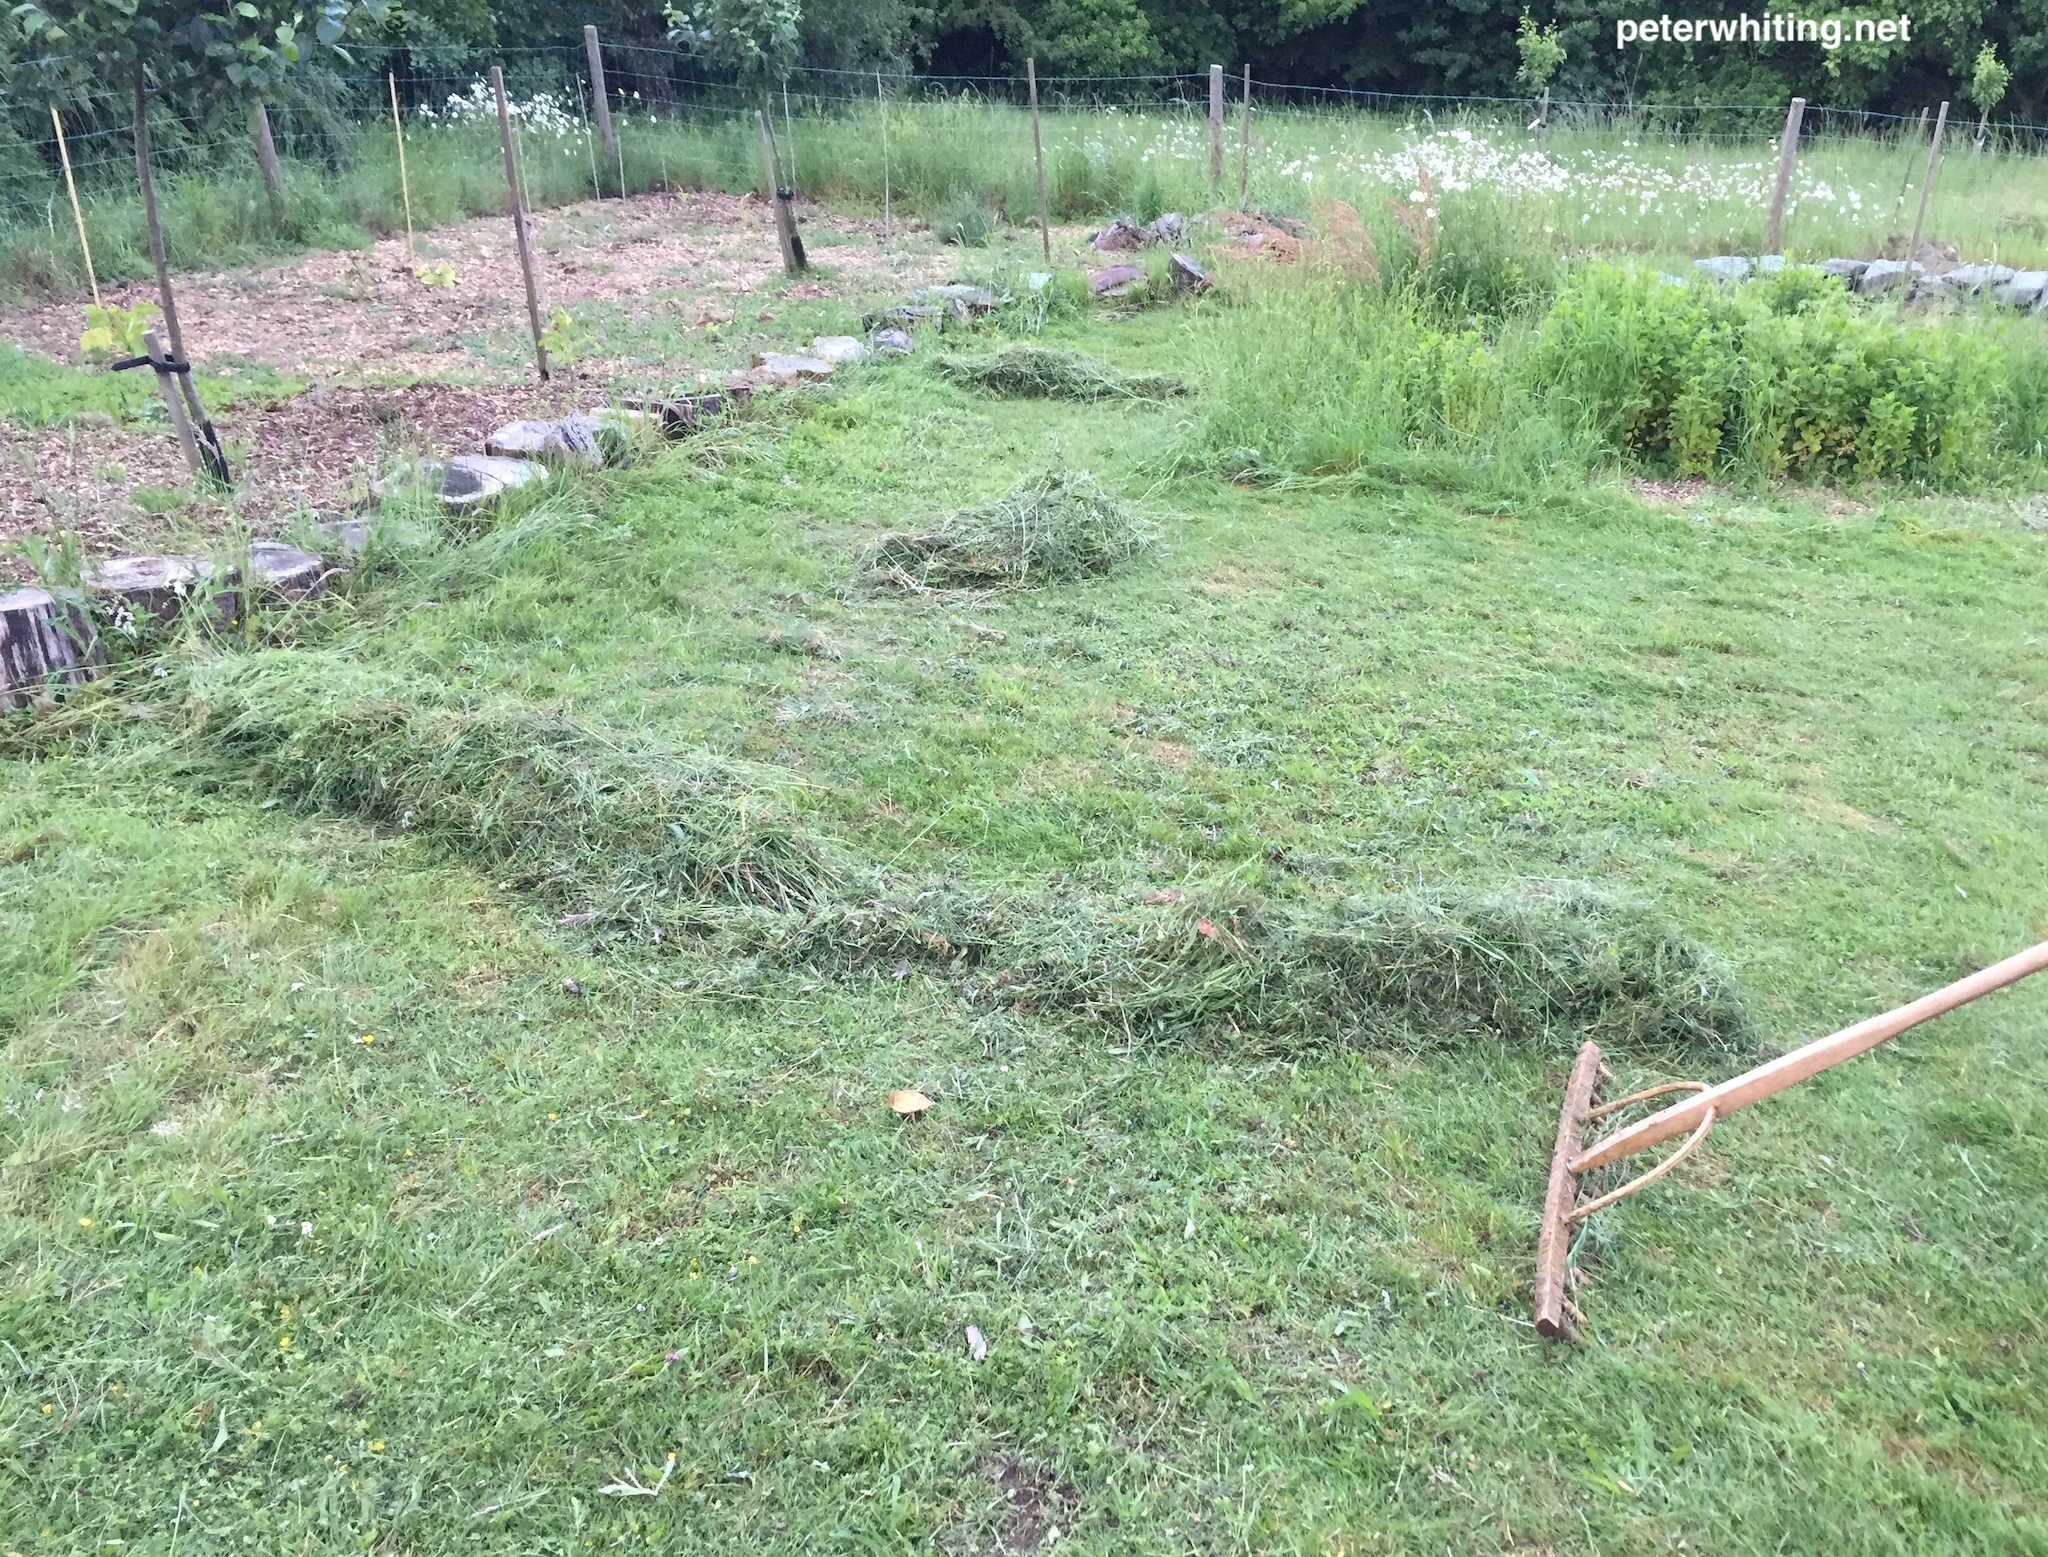
The dictionary definition is something like “a long low ridge or line of hay or a similar crop, designed to achieve the best conditions for drying or curing”. When grass is cut with a scythe, the cut grass tends to line up on the ground to the left of the direction the scythe is swung, and that tends to create natural windrows. However, it works out that there’s cut grass all over the place in general. If the grass is cut in the morning, it’s best to just leave it spread out to dry in the sun for the day and, near the end of the day, to rake it up into windrows.
Why create windrows?
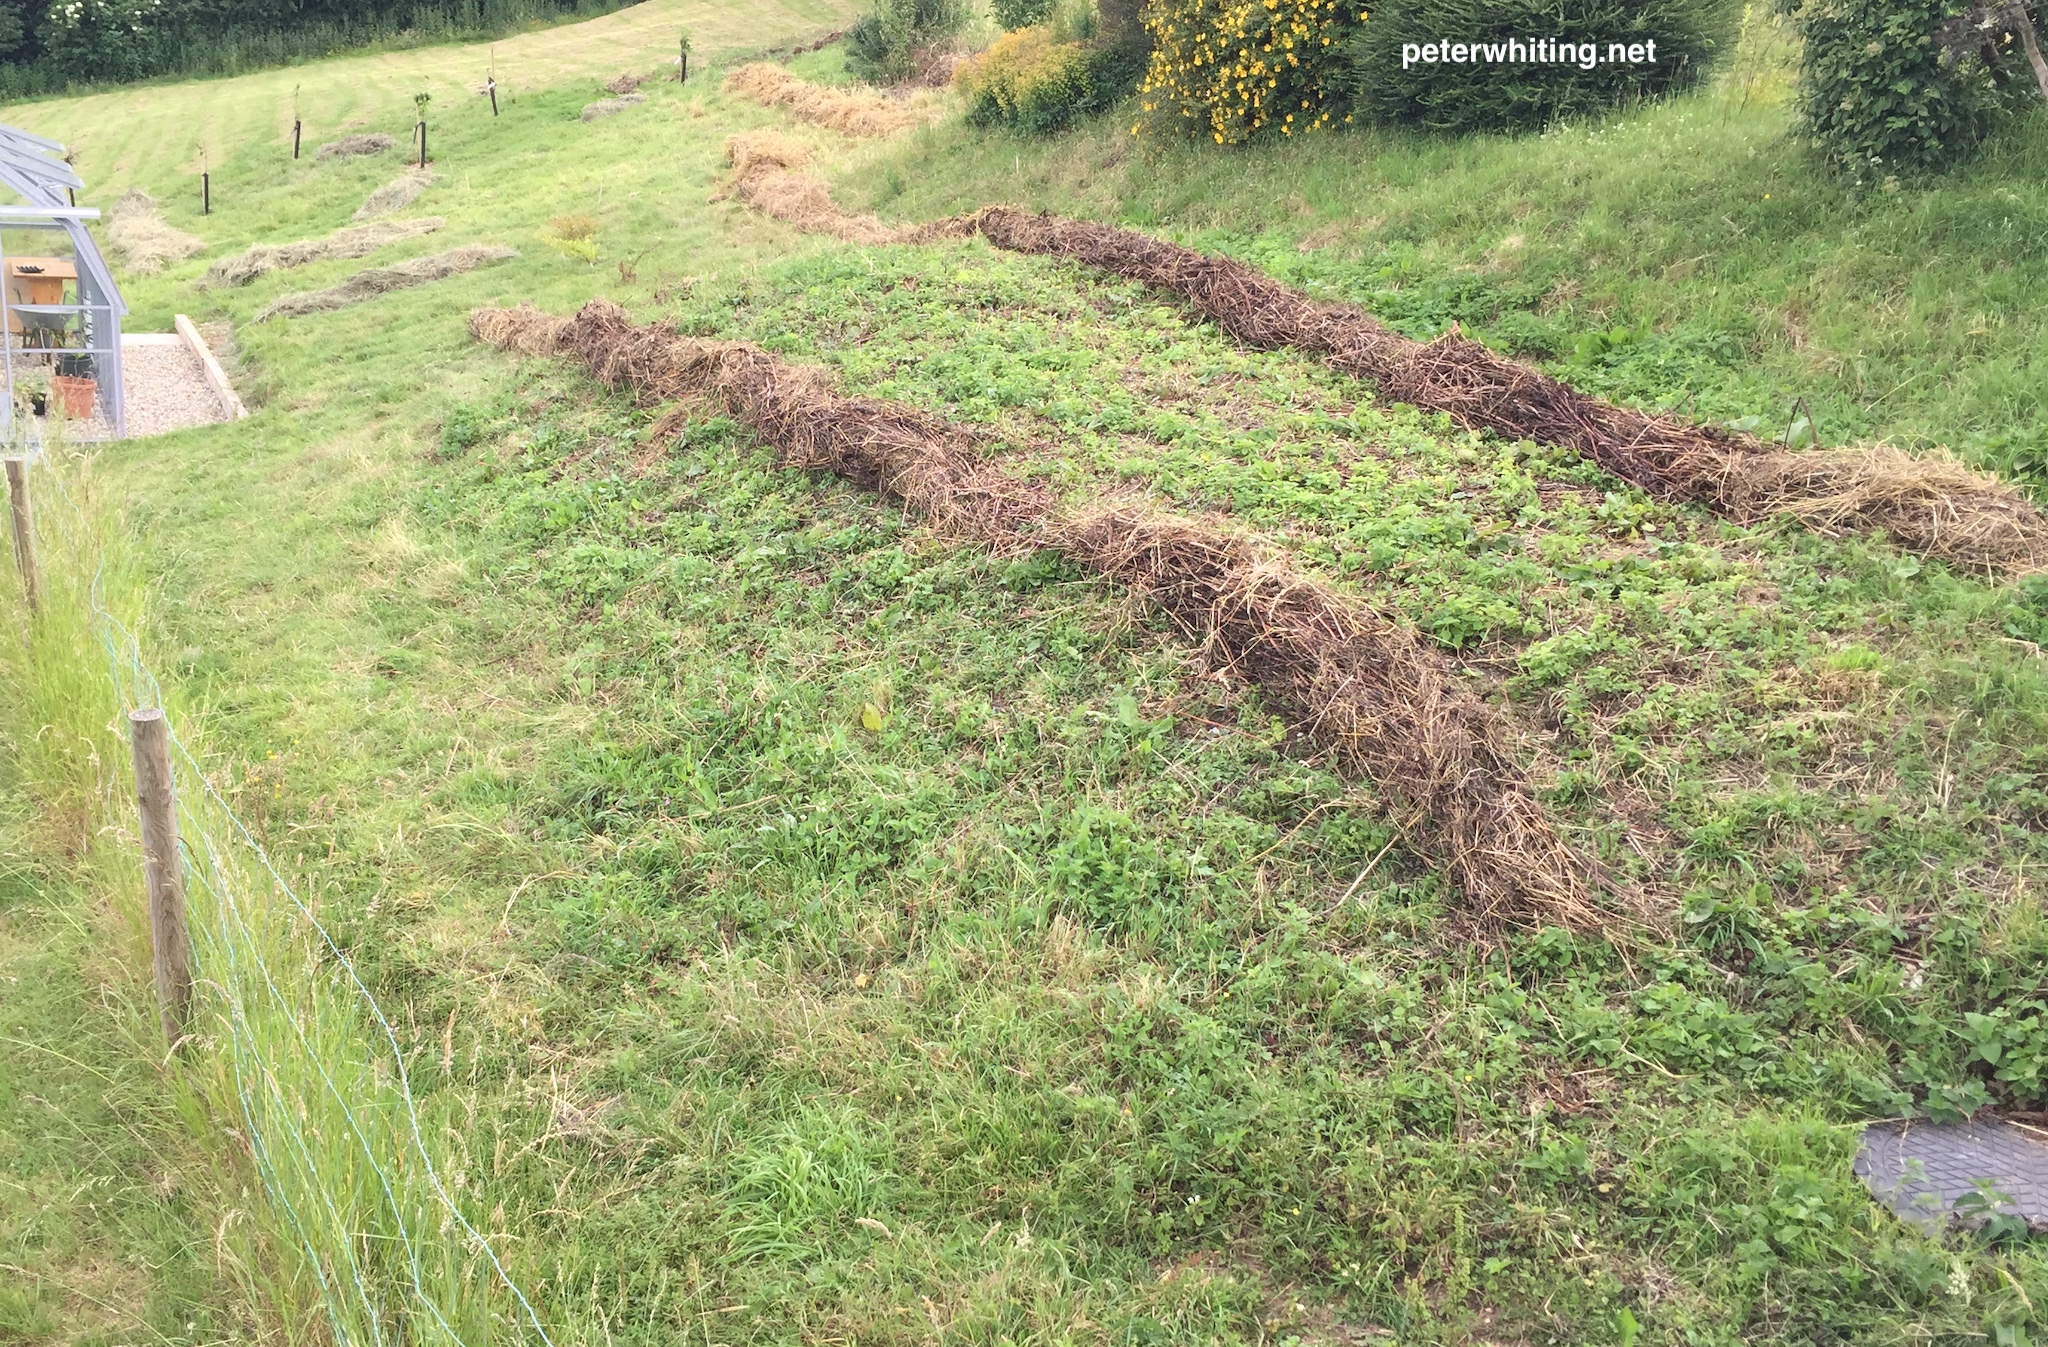
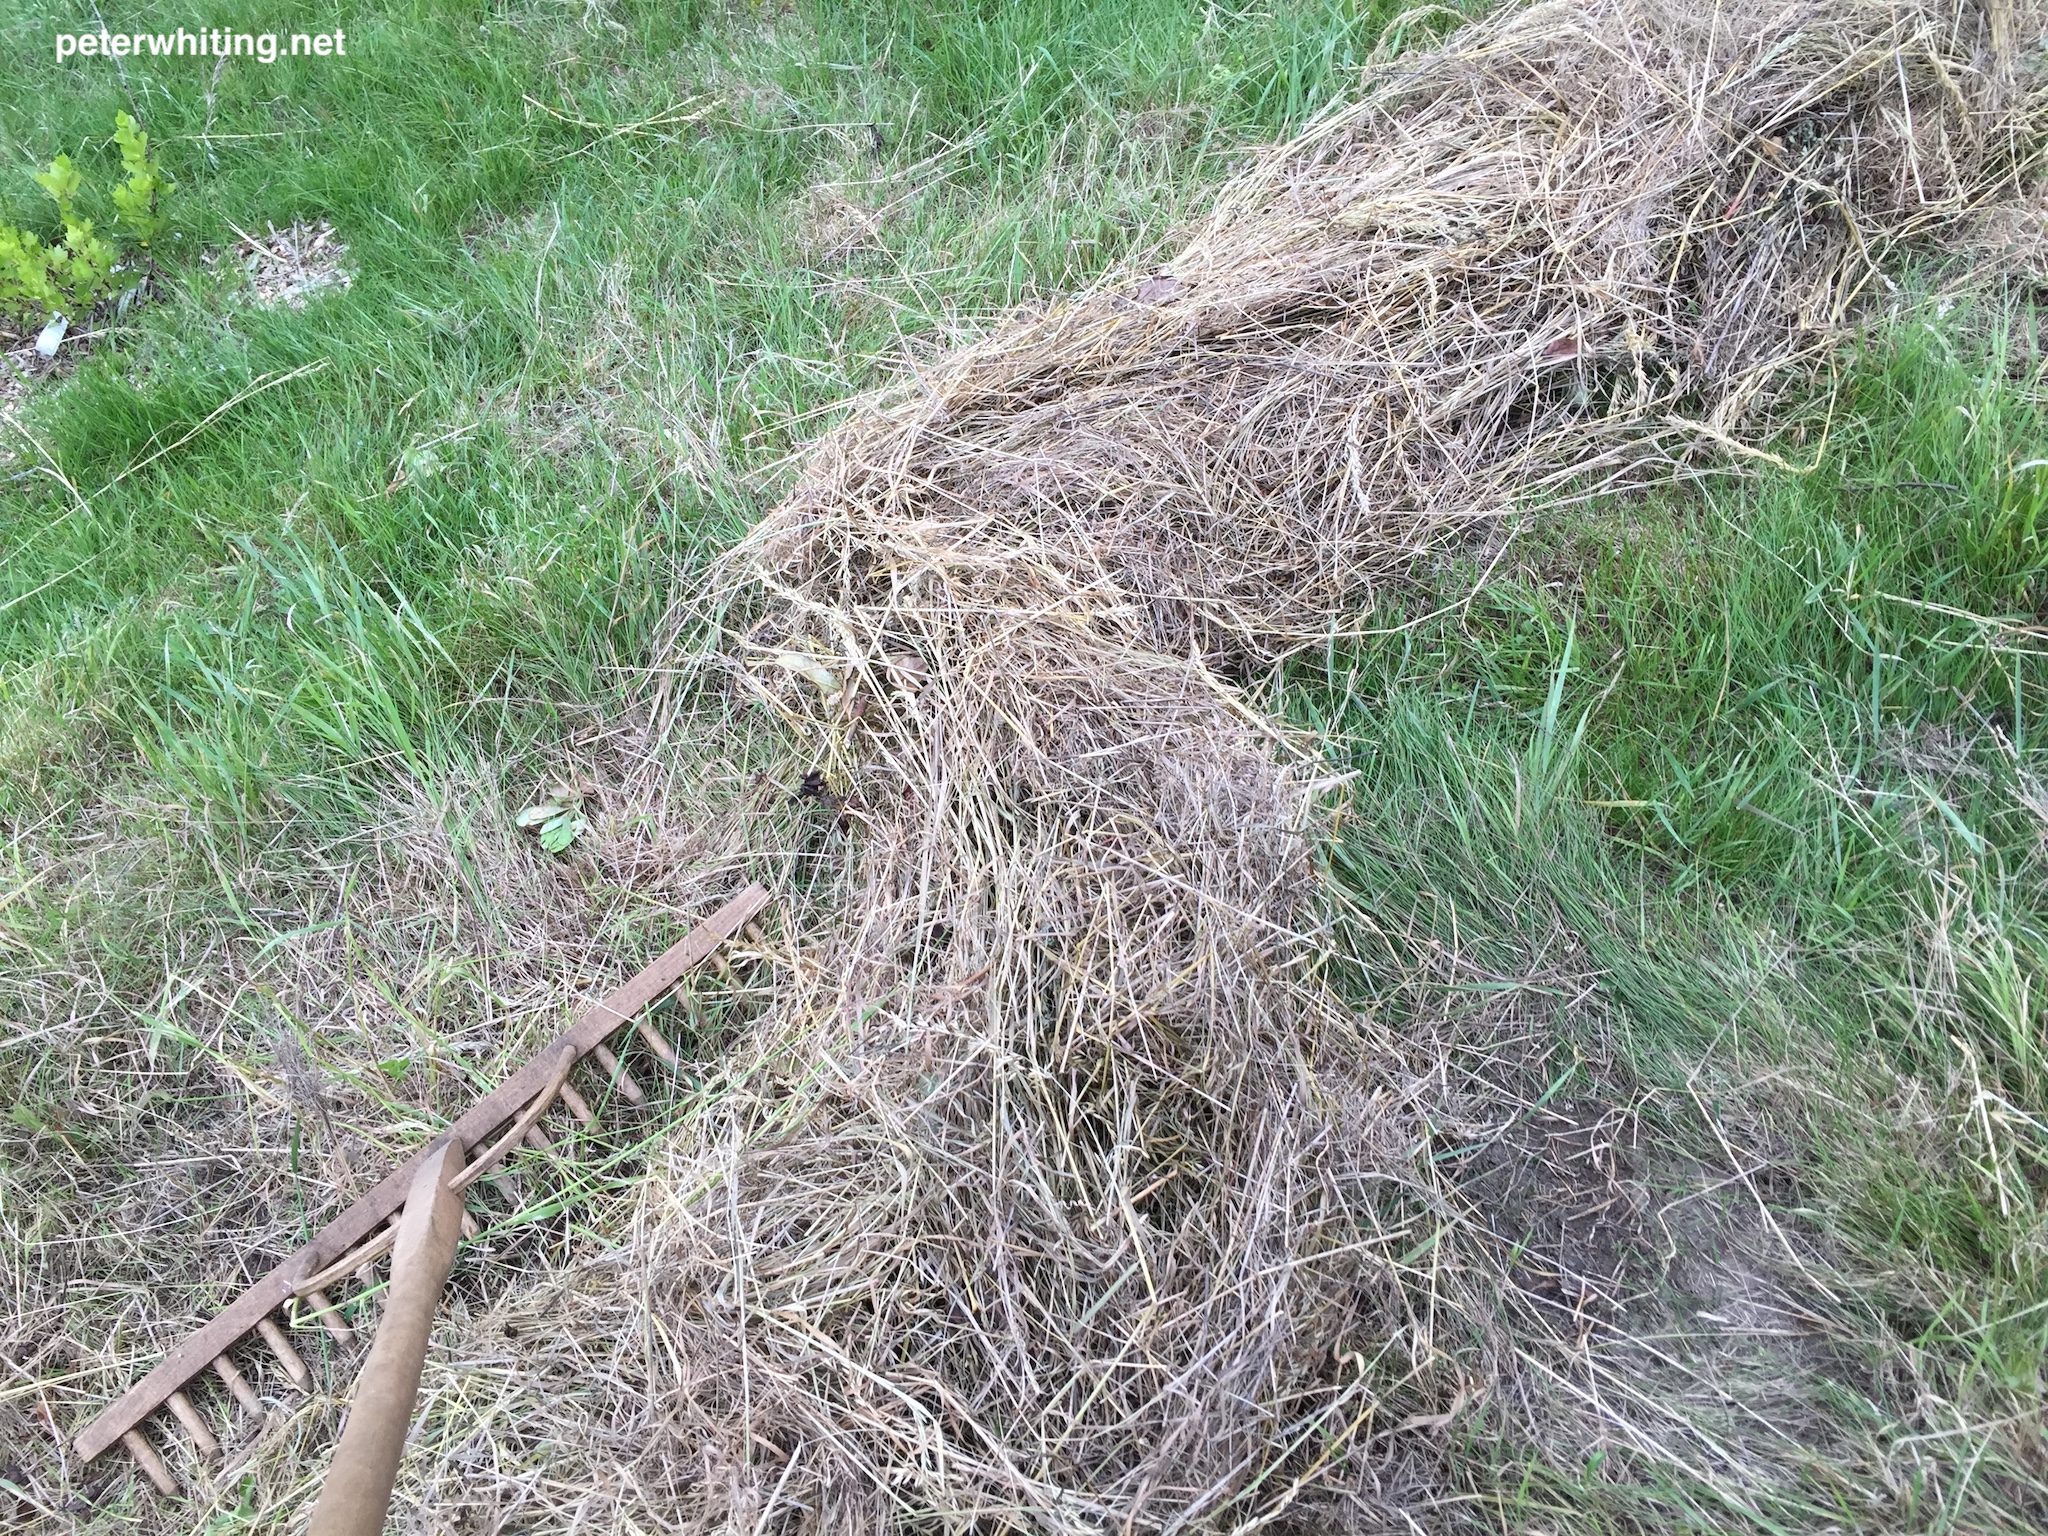
The aim is to get all the cut grass to completely die and dry out, after which it can be placed in the garden beds, and around the base of trees, as a mulch that provides good nutrients for the soil. Basically, we need to keep drying the grass in the sun until all the greenness of the grass has gone and it’s turned a nice straw colour.
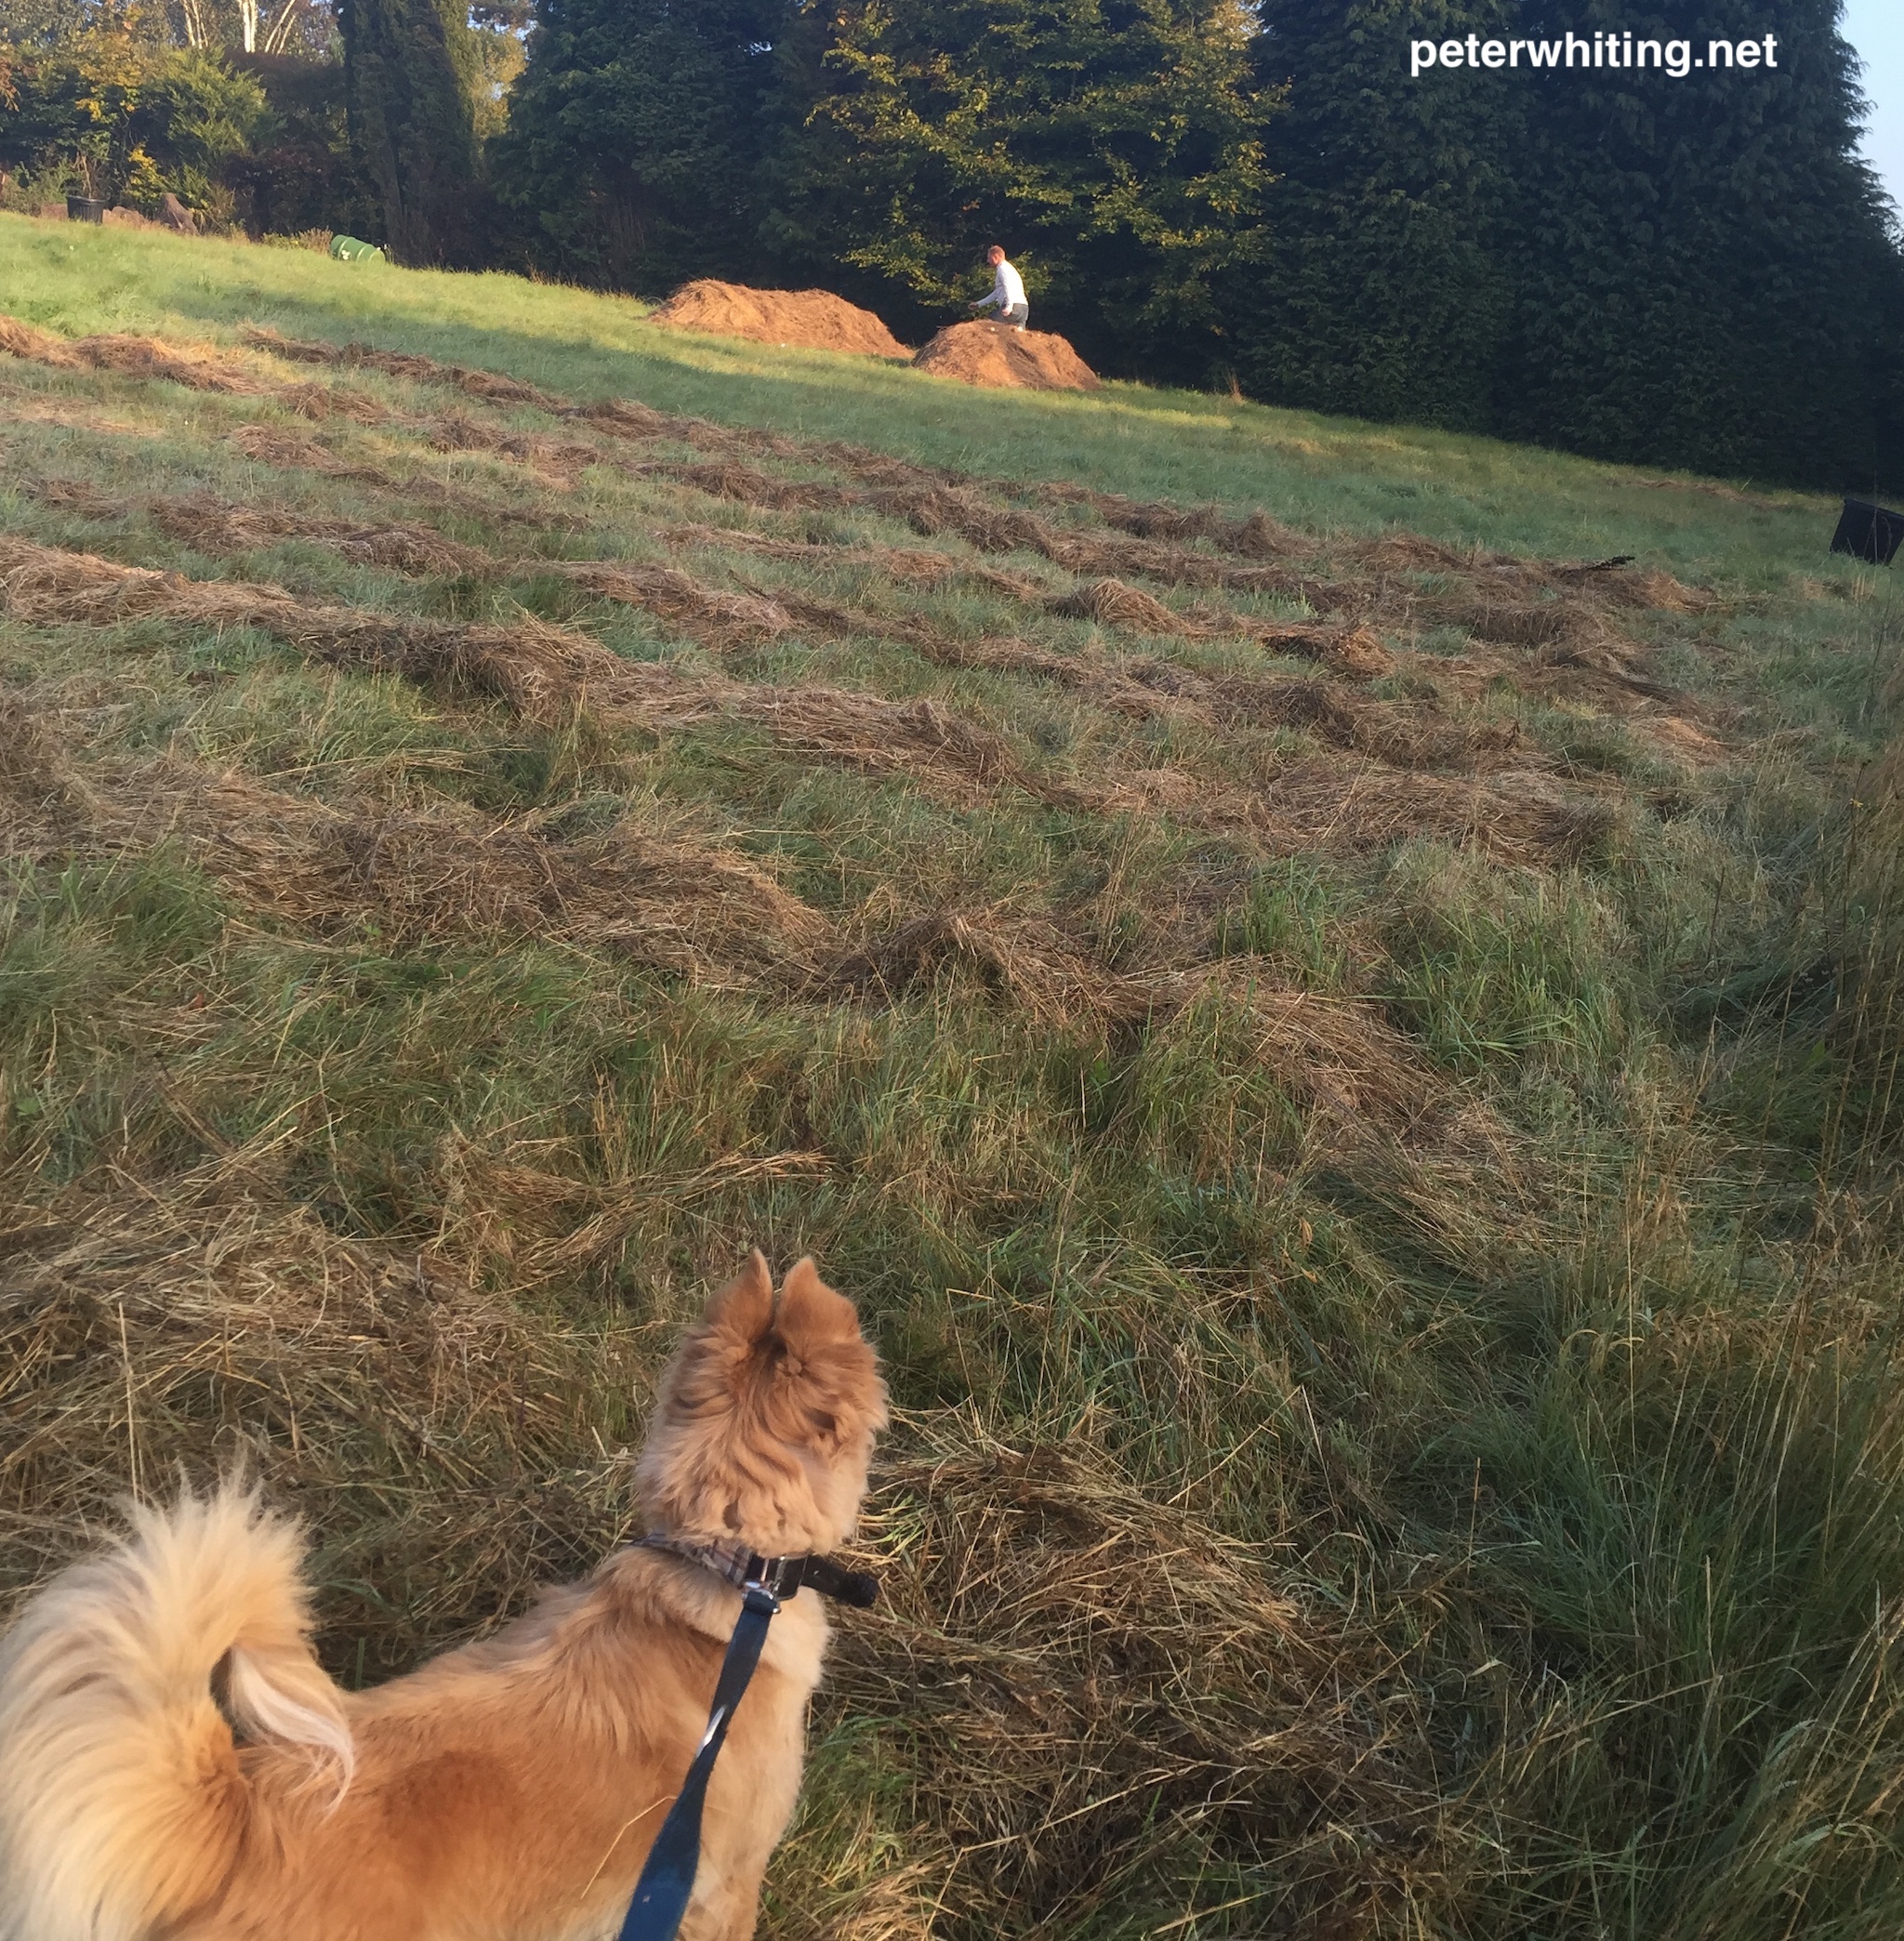
Depending on how warm it is and how much sun you have, it will take something like 6-10 days for the grass to really dry and “cure”. While this is happening, we also want to take care of the grass underneath that’s still alive and still in the ground. We have windrows on top of the grass waiting to dry and freshly cut grass underneath that we’d like to get back to growing and be healthy. How do we achieve both of these things at the same time. Easy, we need to roll the windrows over every day ideally.
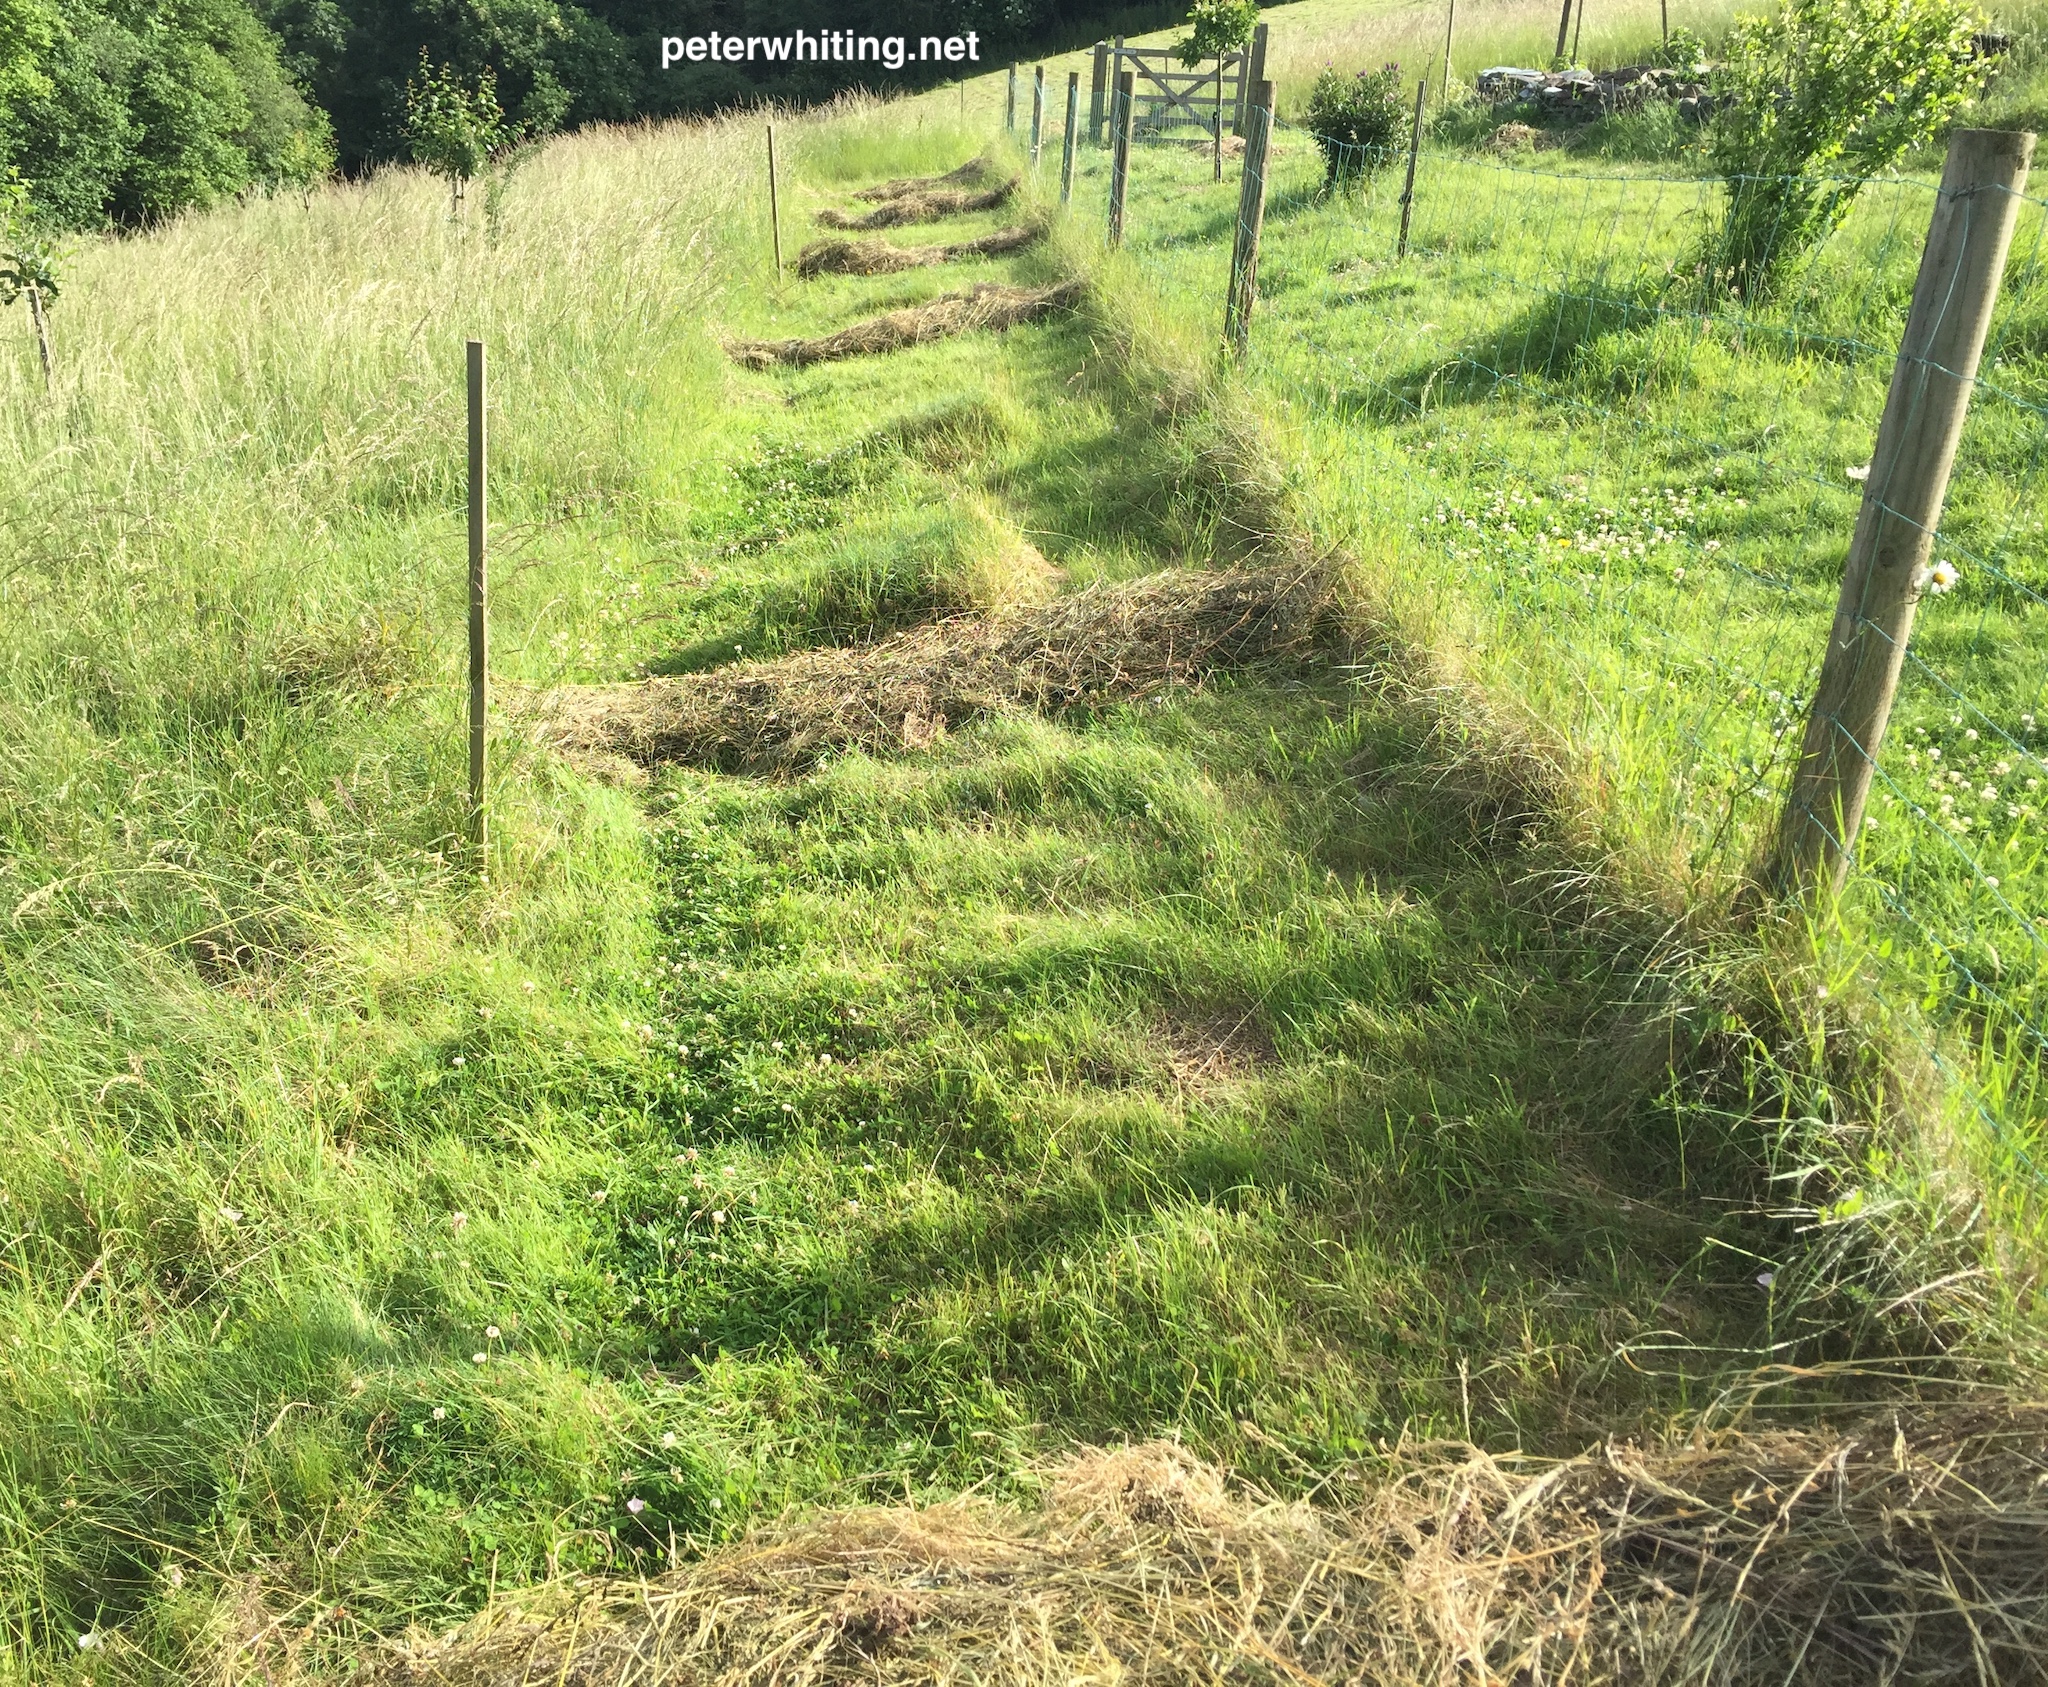
By rolling the windrows over, we achieve two things. First, the grass on the top of the windrow gets the sun and starts drying out, but the grass underneath stays wetter and greener – by rolling the windrow, the greener grass in now on top of the windrow and exposed to the sun. By rolling the windrows we’ll gradually get all the grass cuttings nice and dry and straw coloured. Second, by not leaving a windrow in the same place for very long, we’re not inhibiting the growth of the live grass underneath. It seems that the live grass can handle being covered by a windrow for one day without a problem, but if it’s covered for 2-3 days, you’ll find the grass underneath has gone a paler green and not looking real great.
If the windrows are rolled once a day, you’ll have have nice dry, cured grass cuttings in 6-10 days and you can then move this to a garden bed and around the base of trees.
Why put dead grass in garden beds?
We just have to look at nature to see that all of the dead plant material just falls to the ground and creates a “ground cover” to protect the soil. In nature, it’s not common to see bare soil as it’s normally covered by various types of dead plant material. The ground cover helps keep the soil most and provides nutrients for the soil as it decomposes. That’s all nature needs. It doesn’t need anybody coming around with fertiliser, except for animals that leave droppings and stir up the ground cover with their feet occasionally.
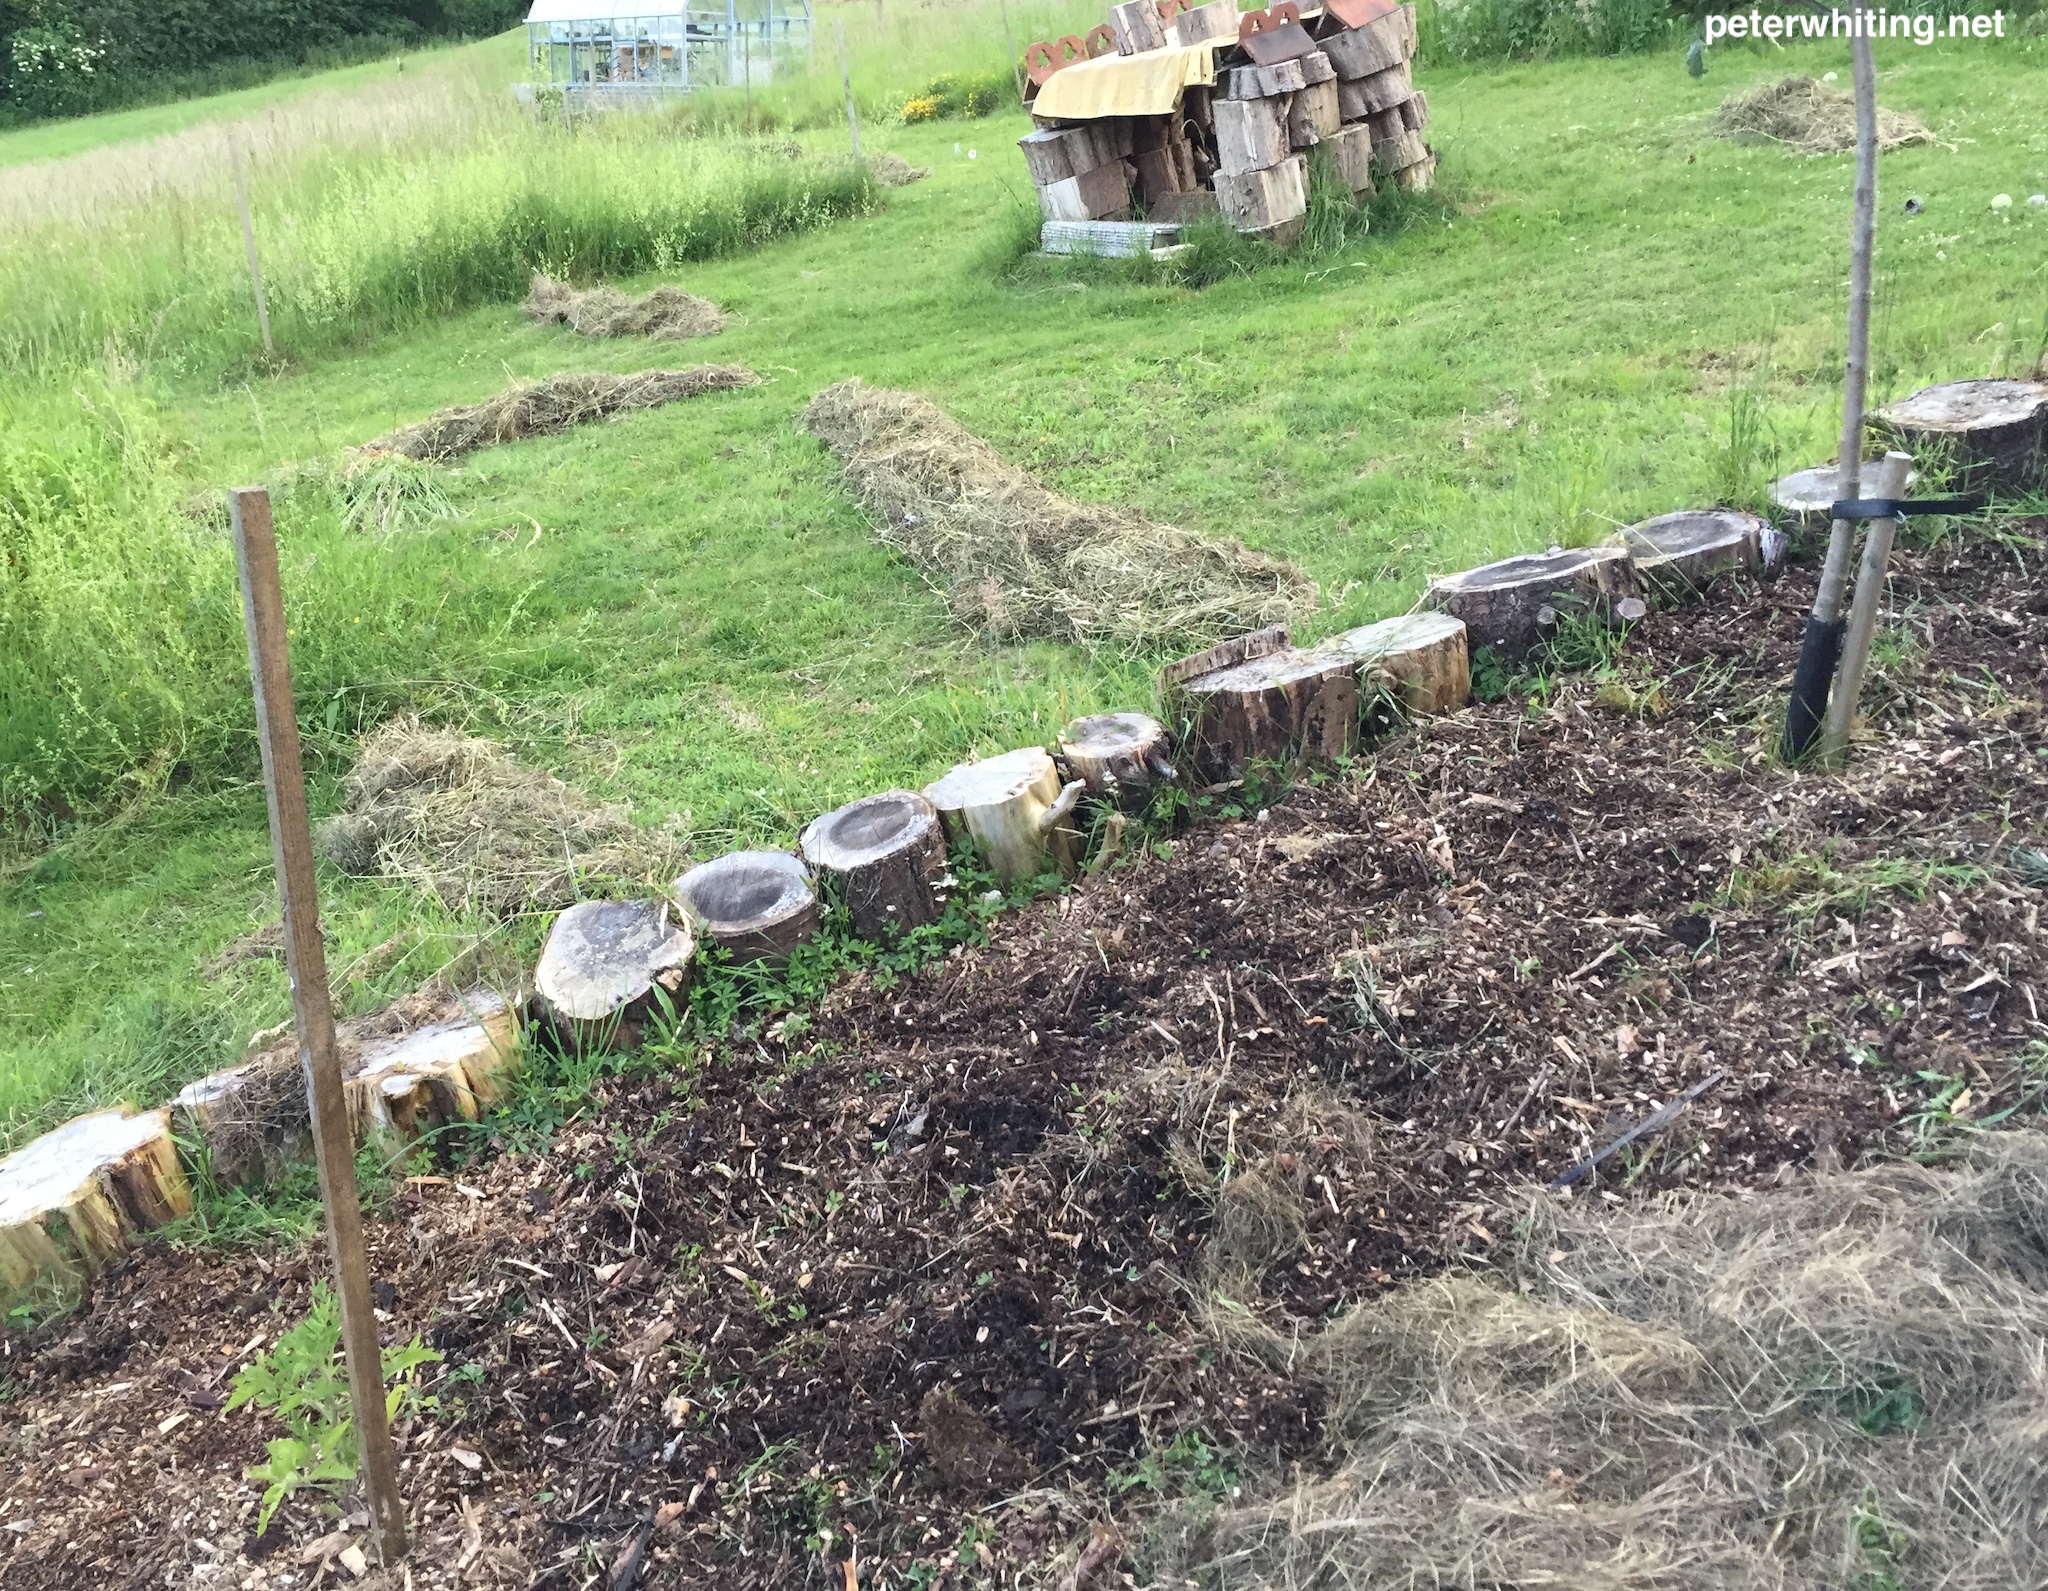
If you put the dried grass cuttings in your garden (just spread them over the ground in a generous layer) and occasionally add dried leaves and wood chips, you’ll end up with really nice, rich, healthy soil.
The importance of a good hay rake
One thing that makes forming windrows and rolling them quite easy, is a good hay rake. I bought a lovely hay rake (handmade in the UK) from thenaturalgardener.co.uk back in 2015. It’s fantastic – makes the job quite easy and is really well made. I have no affiliation with the people making or selling these rakes, just letting you know about a really good product I’ve found.
If you have any questions, please feel free to leave a comment below or send me a message using the Contact link.
Related Links – Windrows
- Handmade Wooden Hay Rake from thenaturalgardener.co.uk
- Back to Eden – an interesting documentary about easy, natural gardening using ground cover
[…] you may know from some of my recent posts (especially “Rows and rows of windrows” last year), I cut the grass in a large part of my garden using a scythe. Why, you might ask, […]